

Mar
In part 1 of our print/cut tutorial we will be creating a bleed on our print file using Adobe Photoshop.
Creating a Bleed on a Print File for a Cut Contour Using Adobe Photoshop
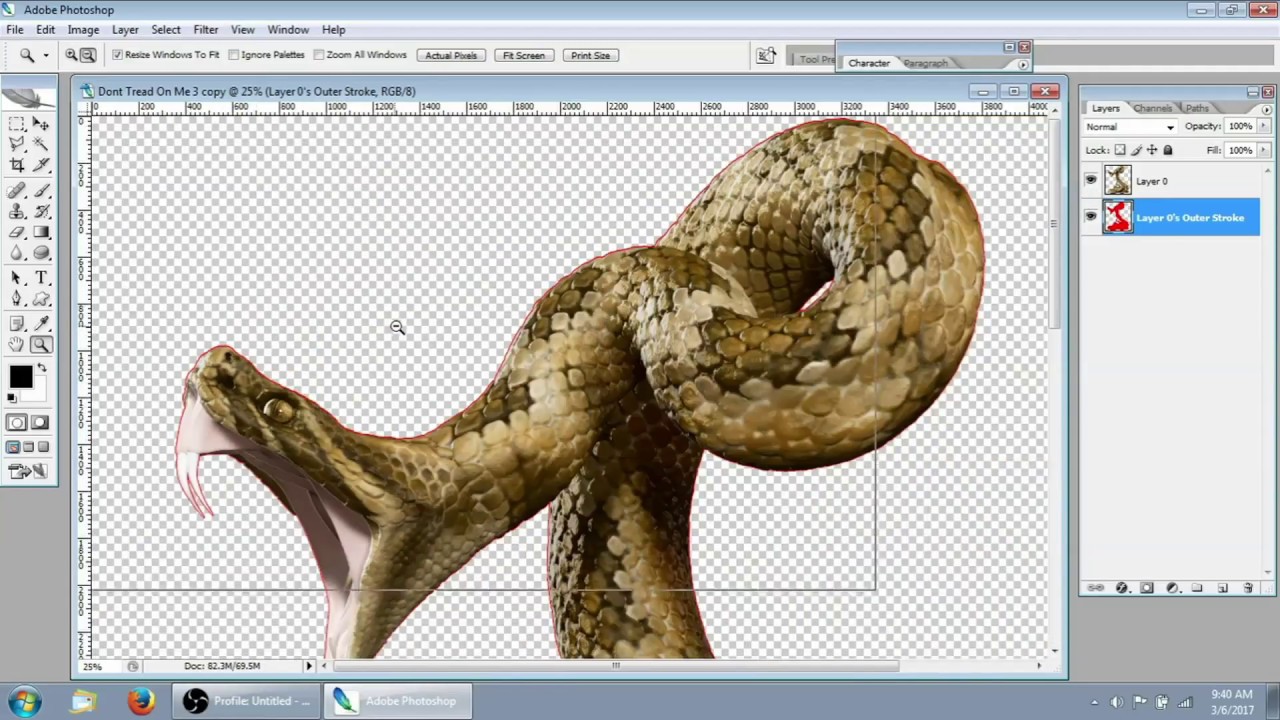
When preparing a print file for a cut contour, ensuring a proper bleed is crucial for a professional finish. A bleed allows for slight inaccuracies during the trimming process and prevents unwanted white edges. This tutorial will guide you through creating a bleed using a blurred version of the image and stacking layers to create a stroke that matches the color of the outside edge pixels.
Step 1: Setting Up Your Document
Begin by opening your print file in Photoshop.
- Open Your Image: Start with the high-resolution image you want to prepare for print.
- Create a New Document: Make sure the document size includes the bleed area. For instance, if your final print size is 8.5 x 11 inches with a 0.125-inch bleed, set your document size to be a couple inches larger than the final image.
Step 2: Duplicating and Blurring the Image
Create a blurred version of the image to use for the bleed.
- Duplicate the Layer: Select your image layer, right-click, and choose “Duplicate Layer.”
- Apply Gaussian Blur: Go to Filter > Blur > Gaussian Blur. Set the radius to create a smooth blur that extends the colors of the image.
Step 3: Duplicating the Blurred Layer
- Position the Blurred Layer: Move the blurred layer behind the original image layer.
- Transform the Blurred Layer: Duplicate the blurred layer until the opacity is at 100% all the way to the edge of the bleed.
Step 6: Final Adjustments and Saving
Ensure everything is set up correctly before saving your file.
- Check Alignment: Ensure the original image aligns perfectly with the blurred bleed and merge the layers into one.
- Save for Print: Save your file in a print-ready format (such as PNG or JPG) with the appropriate color profile (Adobe 1998 RGB).
Conclusion
Creating a bleed for a cut contour in Adobe Photoshop ensures your print file is ready for professional trimming. By using a blurred version of the image and matching the stroke to the edge pixels, you can achieve a seamless and polished finish. Follow these steps to enhance your print projects with precise and effective bleeds, ensuring a flawless final product. Dive into Photoshop, apply these techniques, and prepare your designs for perfect prints.
Rattle Snake Image: https://www.auroragraphics.net/?product_cat=&s=Rattle+snake&post_type=product
Youtube: https://www.youtube.com/channel/UCqRsfztWGjUIzM3hIz5ITcg